How Do I Get Started?
Table of Contents
Prerequisites
Before you get started, you will need to have a few things set up:
Create a GitHub Account
If you don’t already have a GitHub account, you will need to create one. You can do that here. If you need help with this, check out this article.
Set Up Git Locally
You will need to have Git installed on your computer. If you don’t have it installed, follow the instructions in this article.
Install a Code Editor
You will need to have a code editor installed on your computer. If you don’t already have one, I recommend you check out VS Code. If you need help with this, check out this article to get it up and running.
Creating an Account
Once you have your GitHub account set up, create a Codebase Mentor account by going to our signup page.
Pick a Challenge
Once you’ve signed up, go ahead and pick a challenge that seems interesting. Once you click a challenge you will be taken to the challenge page.
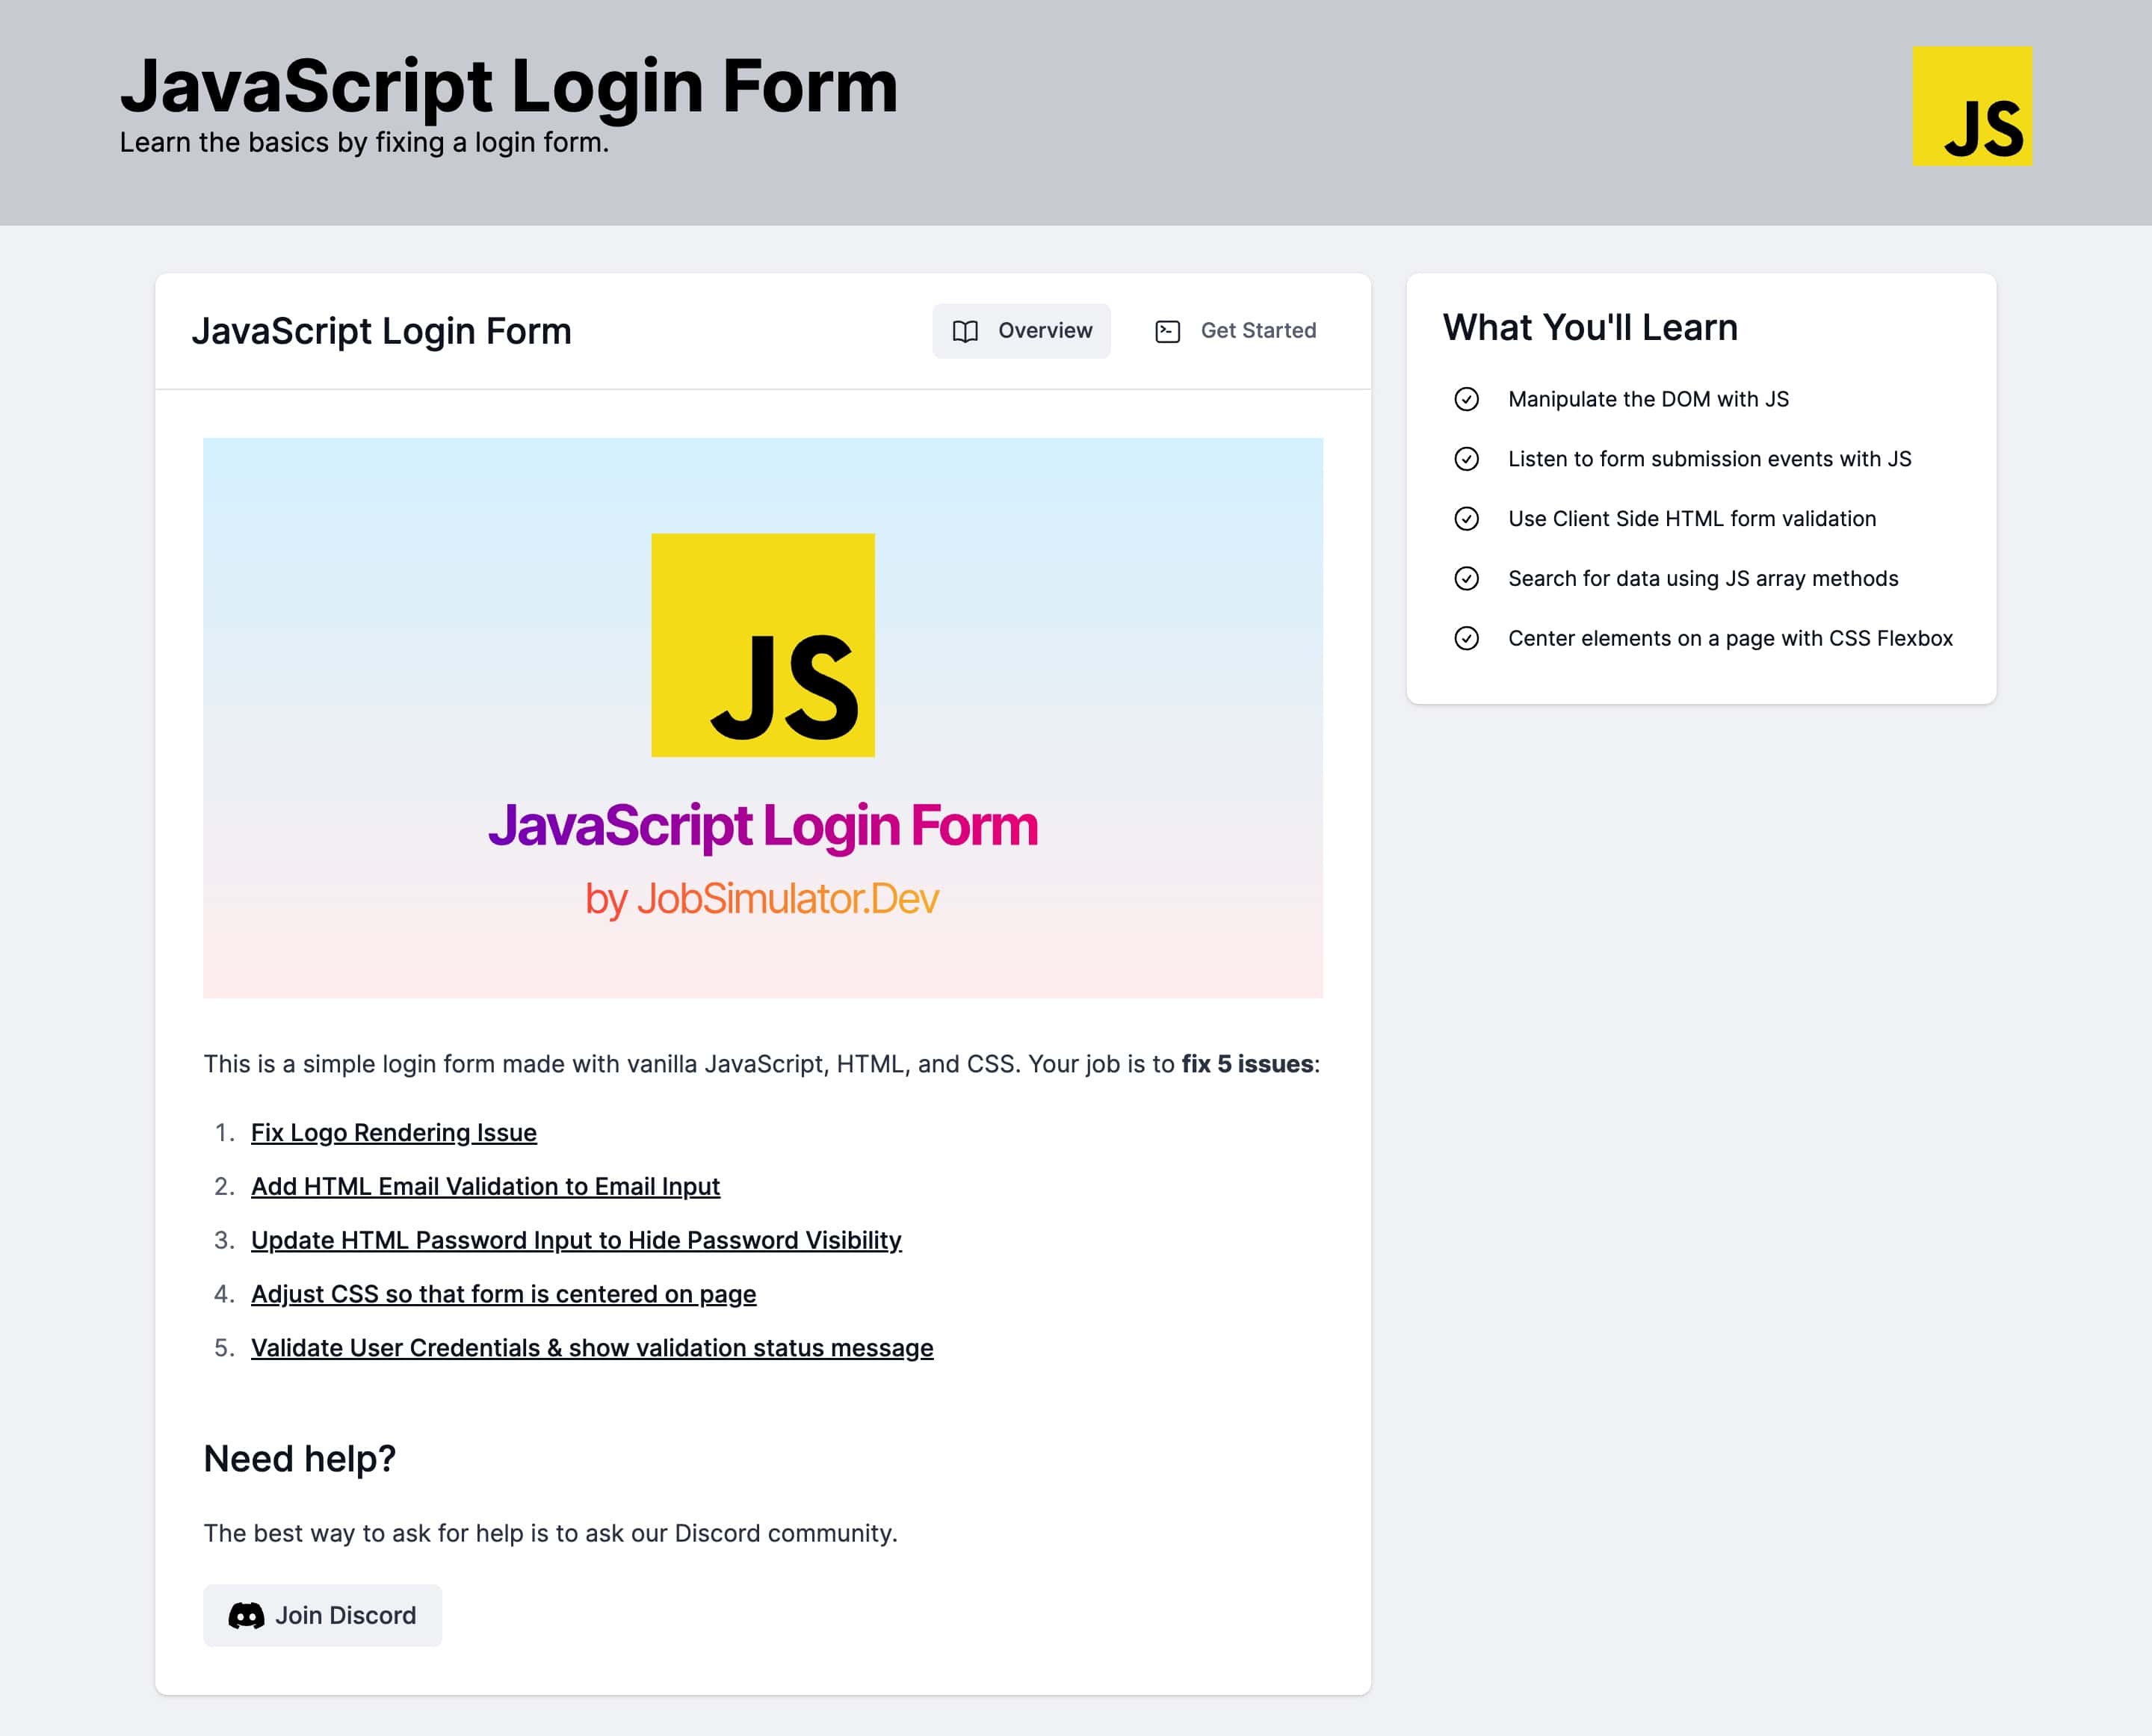
On the challenge page you can see details of the challenge, what you’ll learn, the issues you will be solving, and instructions on how to get started.
Fork & Clone
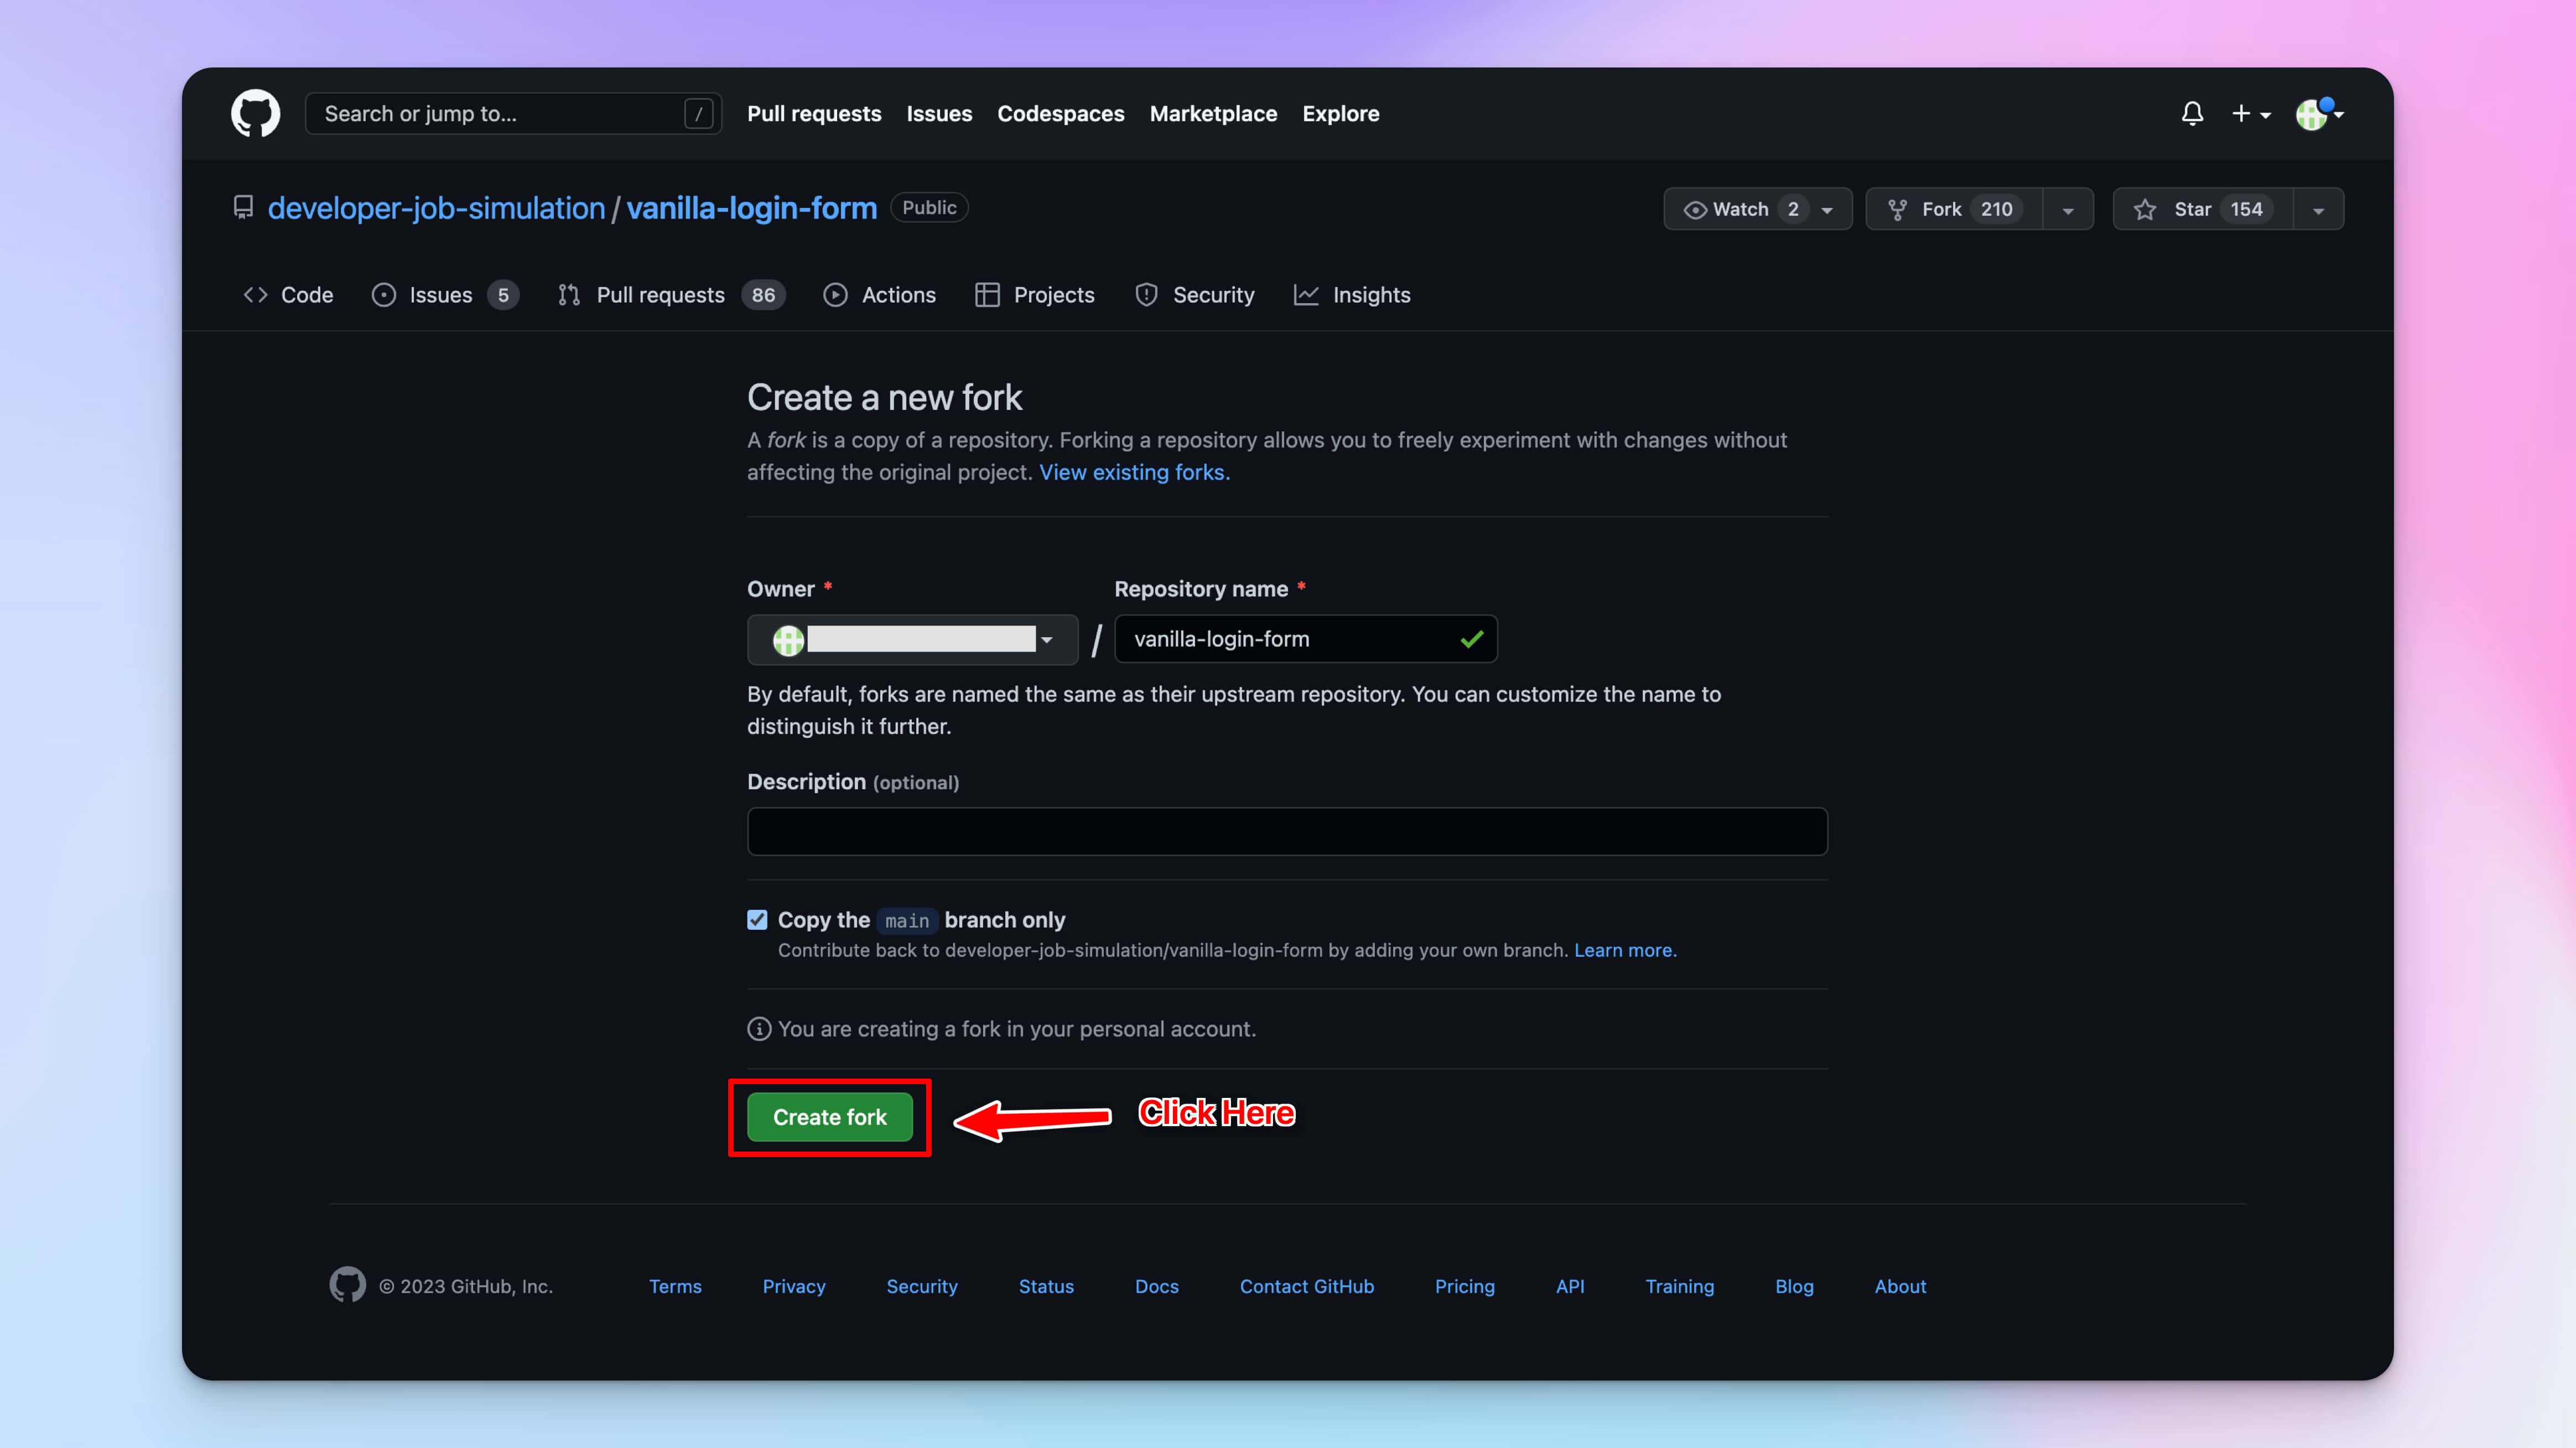
Once you’re ready, you can go ahead and fork the challenge repository by clicking on “Fork the Challenge” under the Get Started tab.

This will fork a copy of the challenge into your GitHub account. Go ahead and click “Create Fork” to complete the process.
Once you’ve forked the repository, clone the project to your local machine. This will allow you to edit it locally.
Start Working
Start working on the issues in the original repository’s github issues page.
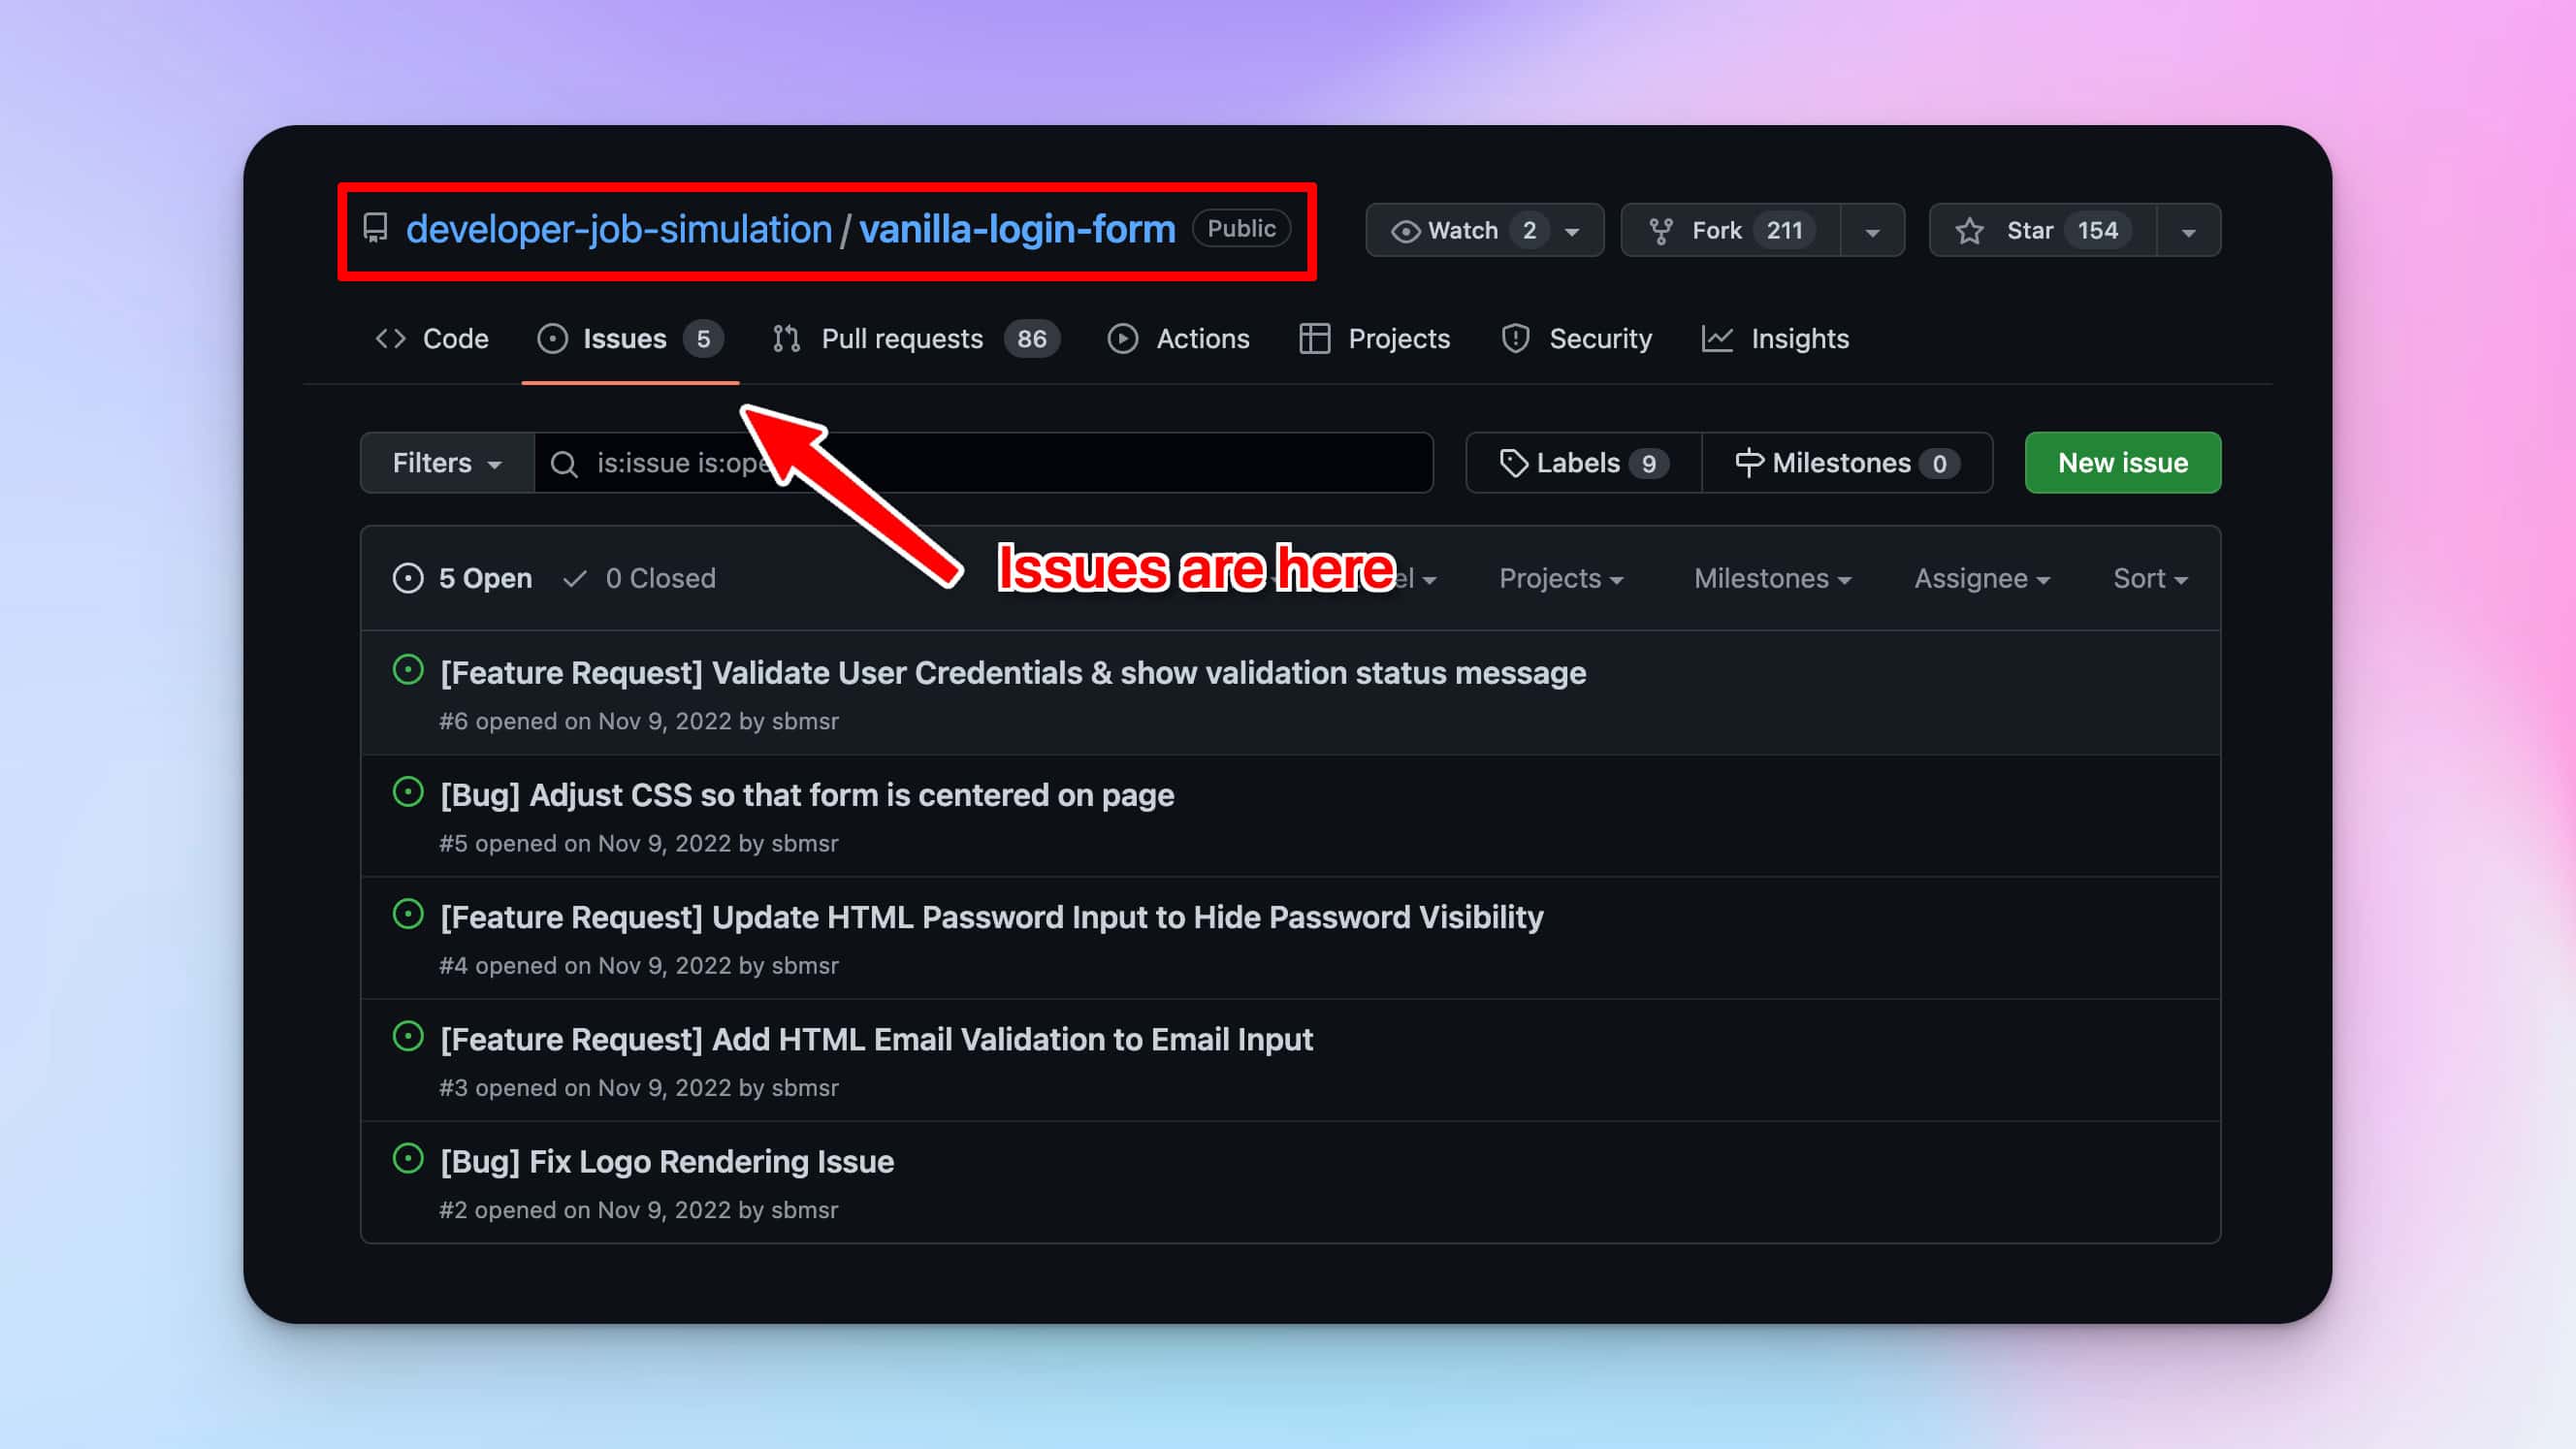
Once you’ve picked an issue, you can go ahead and start working on it. Once your fix is ready, go ahead and git add and git commit your changes.
Push & Submit PR
Go ahead and push your changes by running git push from your terminal.
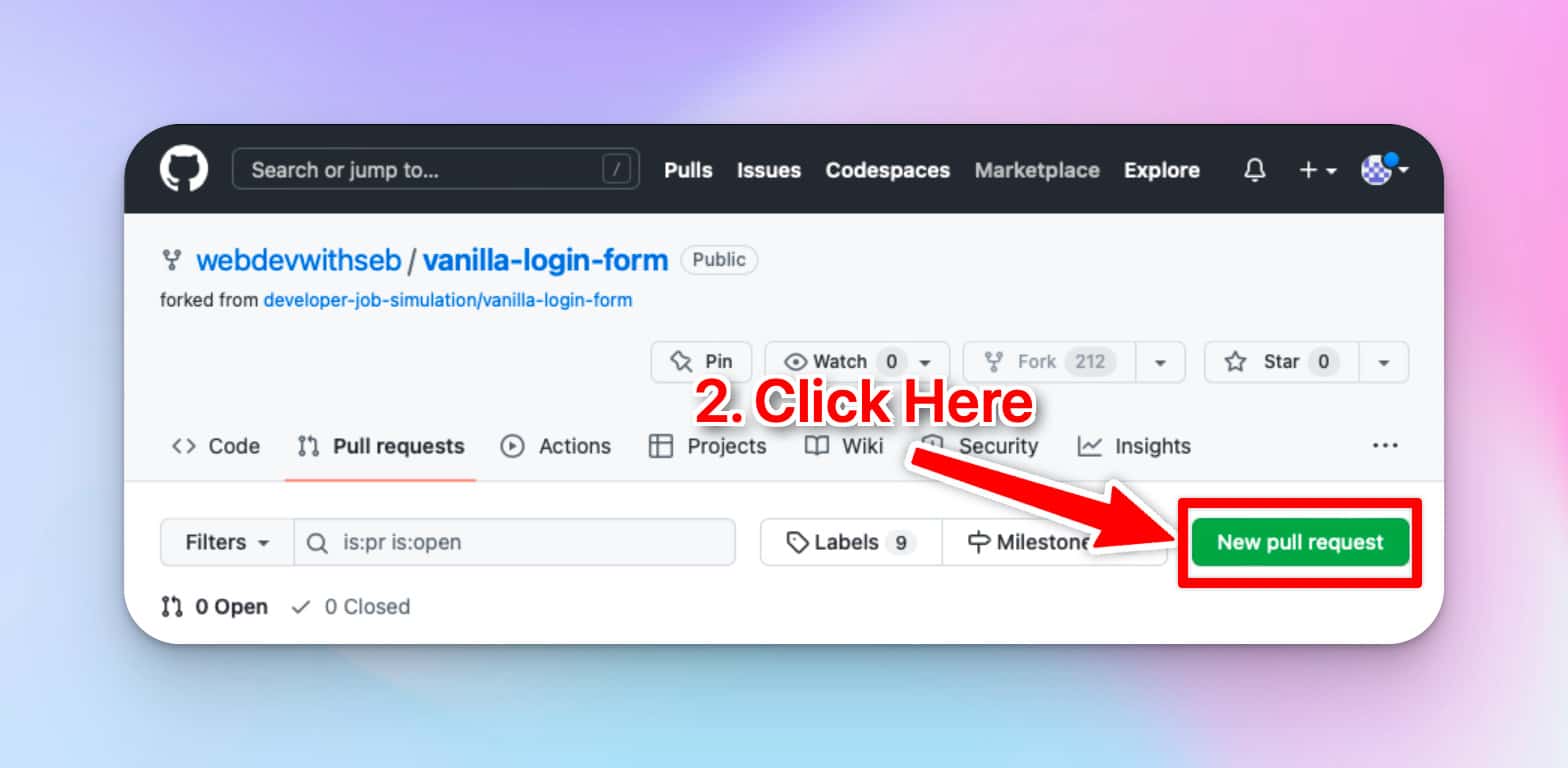
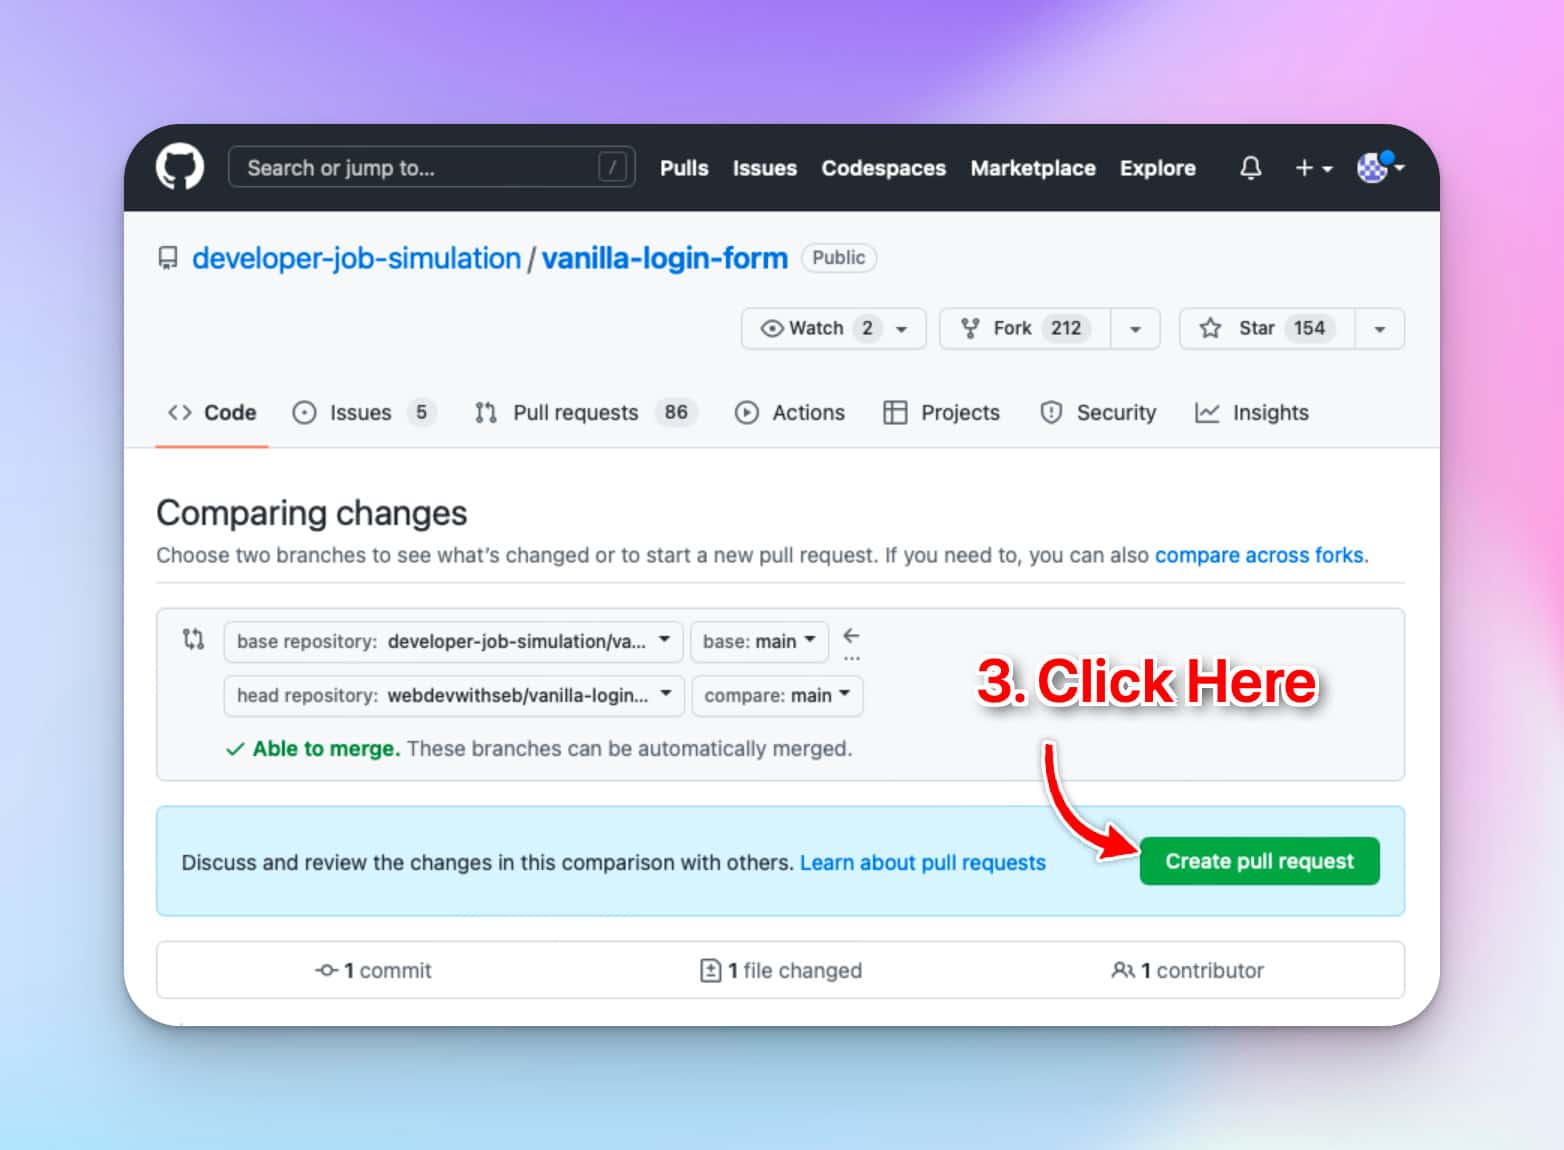
Then create a pull request from your GitHub repo by clicking on the “Pull Requests” tab, clicking on “New Pull Request” button, and then clicking on “Create Pull Request” button.

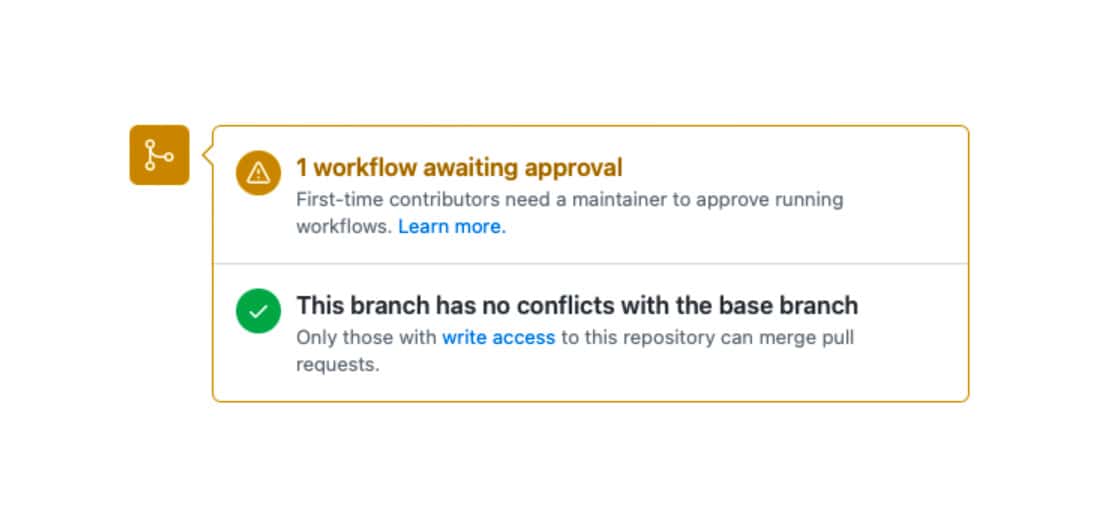
Once you’ve created a pull request, you will see our tests run on your code.
If you see the following error, please
message us on Discord for assistance
. It means your GitHub account is too new to trigger our automated tests.
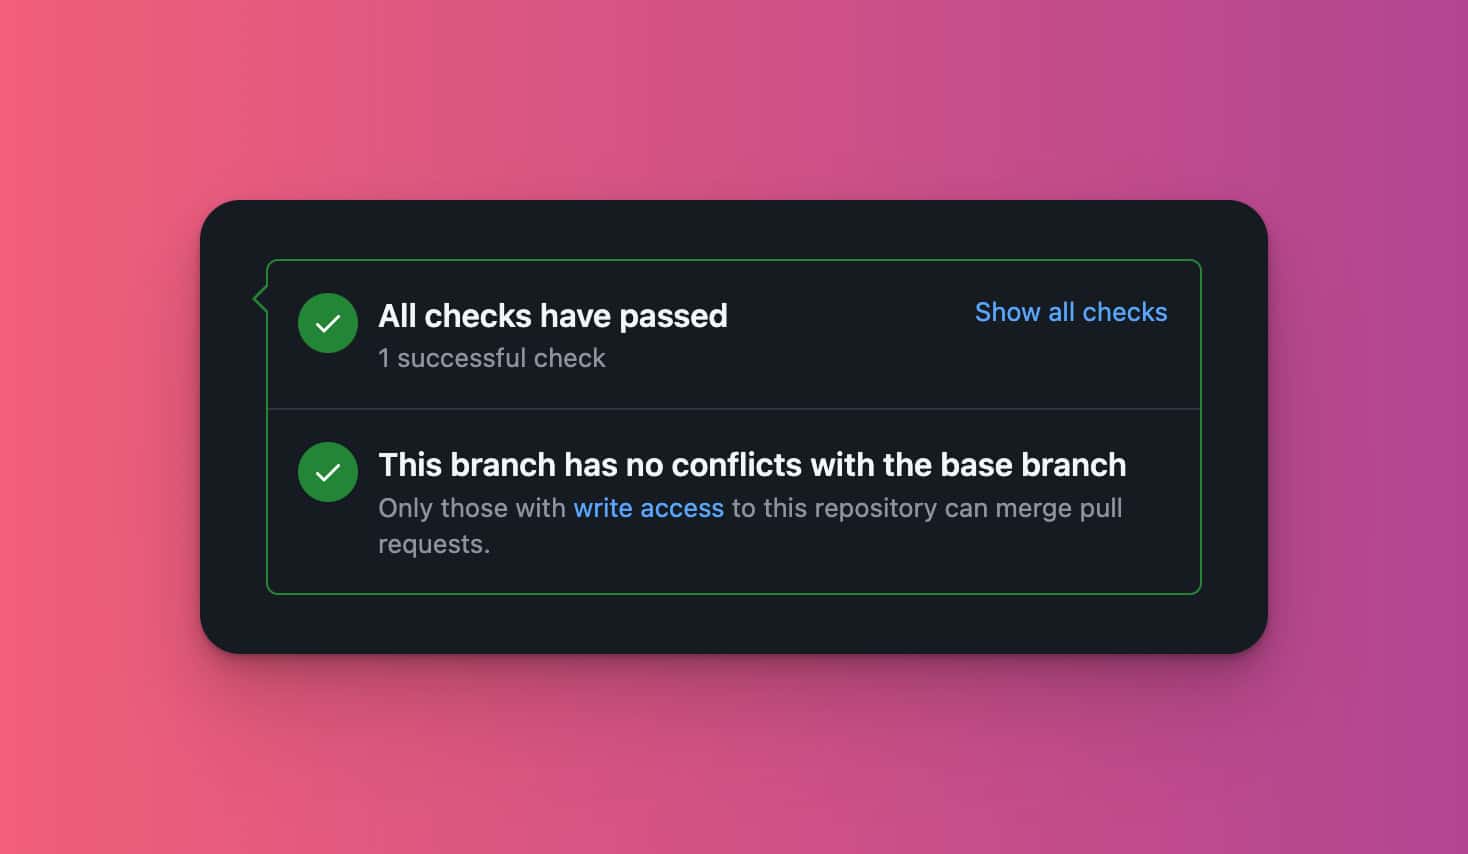
Keep working on your code until all the tests pass. When they do, you will see a green checkmark like this 👇
Last Updated: